Friday, August 29, 2008

Fruit Crsip

This recipe has been contributed by Multi-Tasking Mommy.

First, it was strawberry season and we had so many strawberries, we didn't know what to do with them. Now, we have moved on to peaches! There are baskets of peaches everywhere I look, it seems!

What better way to use up some peaches than to make a good, old Peach Crisp?

I've called this recipe "Fruit Crisp" because you can really use any type of fruit you like! Sometimes I make apple crisp, sometimes peach and sometimes I add berries as well.

Fruit Crisp

Fruit: Slice fruit directly into baking dish (you can use whatever sized oven safe dish you like--just add enough fruit to fill it to your liking. Add sugar if desired and 1 tbsp of instant tapioca granules.

Topping:
Combine 1/3 cup margarine or butter and 1 cup of flour
Add:
1/2 cup brown sugar
1/4 tsp salt
1/2 tsp each of cinnamon and nutmeg
You can add large flake oats if desired!

Bake at 425 degrees for approximately 25 minutes or until fruit is bubbling and topping has "crisped"!

Enjoy :)

Sunday, August 24, 2008

Sunday Morning Popovers

This recipe comes from Pocklock. She's like 13 months pregnant. Go visit her and wish her well!

----

I am no chef. In fact, I am a self proclaimed disaster in the kitchen. I can rarely escape without burning something and most of the time that something, is me.

However, I dream. I dream about being able to cook real meals. To made scrumptious desserts. And that’s why I often visit Chop. Stir. Mix. In hopes of finding something simple and easy enough that even me, World Class Kitchen Loser, can make. I thought about how, since you’re never really alone in the blog world, maybe there’s someone else out there looking for the same.

The below recipe comes from my sister-in-law. She made these popovers for a holiday brunch a few years ago and as I sat there drooling over them, I imagined how hard they must’ve been to make. I thought about how she must’ve been up at 4am before her kids because she’d need the house perfectly still to get them to actually POP OVER. (Heh. Yes. Am that dumb.) I was so wrong. She claimed that they were the easiest things to make. And after accusing her of lying to me, she showed me the recipe. People? I have successfully made popovers more than one time. MORE THAN ONE TIME! Mah medal, let me show you it.

Gather your stuff:
Photobucket

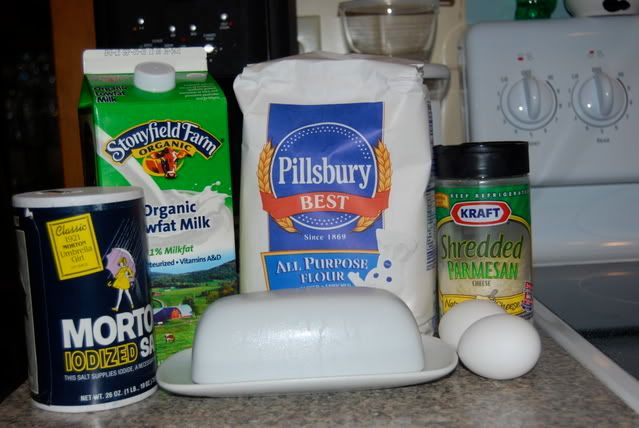
1C of milk (for a lower calorie version, use skim)
1T melted butter
1C Flour
¼ t of salt
2 Eggs
Parmesan cheese (optional)
(makes 10 – 12 Popovers)

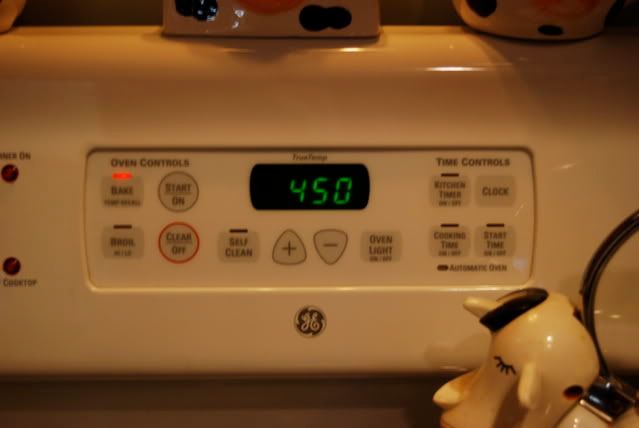
Preheat oven to 450 degrees.
Photobucket

Mix together all your ingredients except the cheese. In no particular order what-so-ever!
Photobucket

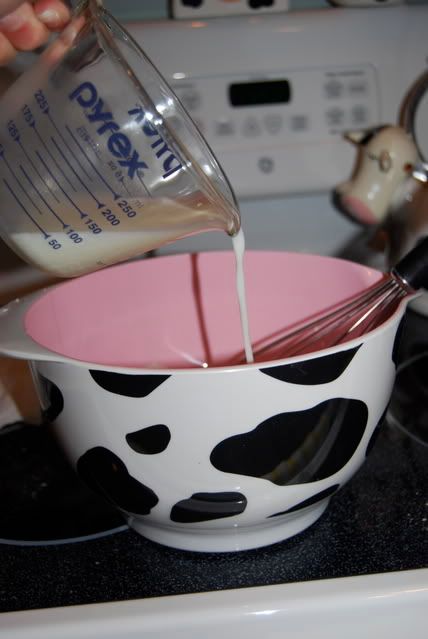
The mixture will be very watery.

Grease your muffin tins (I used Pam, but you can use whatever method you prefer) and fill each muffin spot ½ - ¾ of the way full with the mixture. Sprinkle the cheese on the top of each mixture. Place tins in oven.
Photobucket

Now, if this recipe was AT ALL tricky, this next step would be the place to screw up.

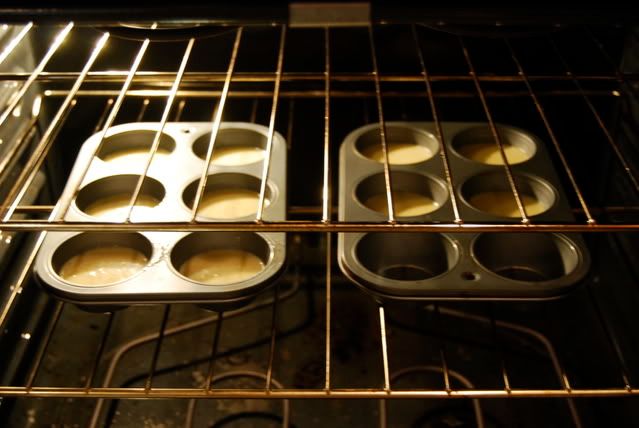
After they bake at 450 for 15 minutes, you have remember to turn down the heat on the oven to 350 and then bake for 20 more minutes.

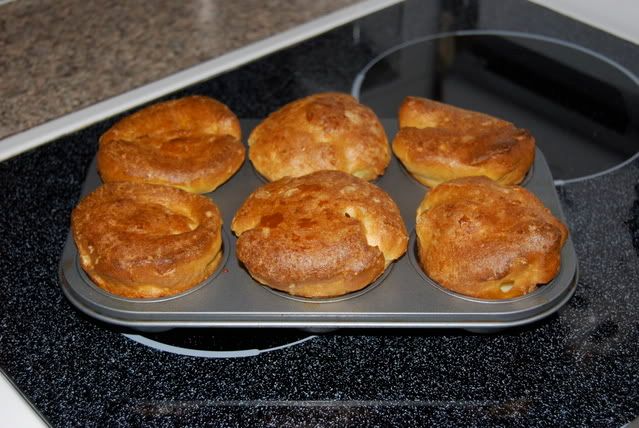
The pans should look like this when you turn down the heat:
Photobucket

The reason why this part scares me a little is because I’ve been known to start cooking something and then forget about it. Let’s not talk about the time I boiled eggs for an hour. Ooops.

After your done baking, remove the pans from the oven and let cool for a few minutes.
Photobucket

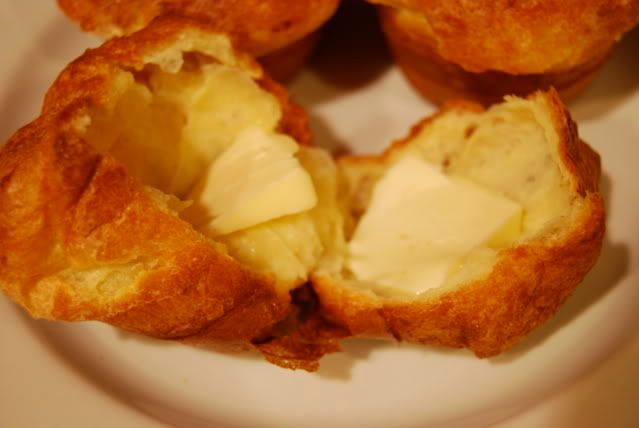
Don’t let them cool TOO long because they are really best and awesome when they’re still warm on the inside.

There’s very little butter in the recipe which keeps the fat content pretty low. But if you’re like me and happen to enjoy fat content, you put lots of butter on them when you eat them. Because, NOMNOMNOM.
Photobucket

Enjoy!

Thursday, August 14, 2008

Sugar Free Pumpkin Custard Pie (WW** Friendly)

Okay, so I realize it's not technically pumpkin pie season, but to that I say: Who Cares? My husband's father and my mother are both diabetic, so I've come up with some pretty inventive recipes for pies and desserts over the years that they could enjoy just like everyone else.

I made this a couple weeks ago just because I saw a can of pumpkin in my basement pantry and decided to.

Also, since having my son, sugar is not my friend and immediately sends weight to Mah Belleh, so this is a great option for something sweet without the actual sugar.

What you need:
Photobucket

1 Pillsbury frozen pie crust
1/3 c. water
2/3 c. splenda
(2) TWO 0.8 oz pkgs of Jell-O Cook N Serve Sugar Free Fat Free vanilla pudding.
3/4 c. evaporated skim milk
1 ½ c. canned pumpkin (not the pie filling)
2 large eggs
1 tsp each of cinnamon, nutmeg, pumpkin pie spice, and vanilla

Directions:
1) Combine water and splenda in a saucepan. Bring to a boil, then simmer on low for 5 minutes. Let cool.
2) Whisk the two packages of dry pudding mixture in. The consistency will be extremely thick and "goopy". This is okay.
3) Beat the two large eggs and whisk them into the mixture.
4) Add the evaporated skim milk and pumpkin.

Photobucket

5) Add spices and vanilla.
6) Pour into pie crust and bake @ 350 deg for 30-35 minutes or until center is firm.

Note: if you want, you can brush the bottom of the pie shell with egg whites and bake quickly for 5 minutes before pouring in crust. This helps form a "seal" on the crust.

Photobucket
(I realize this isn't the best picture but the pie crust was old and in the freezer too long and as a result broke apart easy)

-You can serve with Sugar free coolwhip as well.

**This is 2.5 pts for 1/8 pie. If you use egg beaters instead, it becomes 1.5 pts/piece

Tuesday, August 5, 2008

One handed food options

Breastfeeding has so many benefits for everyone, blah blah blah, let's talk about how damn hard it is to consume food when you've got someone attached to your chest - it's so difficult! I've been doing really well consuming whole foods and keeping things healthy and I started going through my recipe book filled to the brim with magazine recipes over the past 10 years looking to see what I could make that really is one handed eating. I have a feeling my posts will be along these lines at least for the next few weeks. So healthy & one handed eating it is. If you have a recipe that fits this bill I would love it and would love to post it here so just e-mail me at cassjustcurious at gmail dot com.

Whole Wheat Pasta Salmon Salad


What you need:
Whole Wheat Pasta (however number of servings you're making)
Salmon (I roasted extra lemon salmon last night for dinner last night)
Very finely chopped Red Onion (as much as you like)
A bit of Fresh Dill (fresh is way better)
Very thinly sliced Cucumber
Capers (if you like them)
Salt & Pepper to taste
Plain Yogurt Strained over night or Low Fat Mayo or Greek Yogurt

What you do:
Cook the pasta and soak in cold water to cool the noodles to room temperature - if you keep them room temp the mayo/yogurt will distribute more evenly then ice cold pasta. Mix in your cooked flaked salmon and then add in the onion, cucumber, dill and capers. I put the lid on the pyrex container and shake it to get things distributed. Then I add the Yogurt or Mayo - today I made it with Low Fat Mayo and Greek Yogurt mixed together to keep the health factor up. Put the lid on again and shake and chill.

I made mine to have as lunch so I used an even pasta to salmon ratio to keep my protein intake up and I happen to love cucumber so I use lots of it. I don't have exact measurements here because I tend to eyeball it. This is an easy to eat lunch because the stuff stays on the fork and as I've tested today does not drip on to babies head while breastfeeding.

Strawberry Bread and Butter

This post has been brought to you by Multi-Tasking Mommy.

I know that we are past strawberry season, but I wanted to be sure to share this yummy recipe with you. My Mom makes it every year during strawberry season and it is delish! I would almost call this comfort food.

Strawberry Bread
2 cups flour
1 1/2 cups quick oats
1 tsp of each cinnamon, salt, baking soda
1/2 tsp baking powder
3 eggs
1 cup sugar
1 cup vegetable oil
1 tsp vanilla
2 cups crushed strawberries (4 cups whole)

Mix all dry ingredients except sugar. Beat eggs, sugar, oil and vanilla; stir in dry ingredients just until mixed. Add berries and gently stir.

Pour batter into 2 greased and floured loaf pans. Bake 375 for 45-50 minutes.

Strawberry Butter
1/2 cup butter, softened
2 tbsp icing sugar
1/4 cup crushed strawberries

Beat butter until light and creamy. Beat in sugar and then strawberries.

Spread on bread and enjoy!

Saturday, August 2, 2008

Blackberry Crumb Cake

We belong to a Community Supported Agriculture (CSA) where each week, we get a share of a local farmer's organically grown produce. The past two weeks we've been able to pick our own blackberries, leaving me to come up or find some recipes to make with them. Look how fresh and yummy:

Photobucket

So, I searched and tweaked and present you with BLACKBERRY CRUMB CAKE:

What you need:

Cake:
2 c All-purpose flour
2/3 c Sugar
3 tsp Baking powder
1/2 tsp Baking soda
1 tsp. Salt
2 Eggs
1 c Milk
1 stick butter, melted
2 tbsp. Lemon juice (about one lemon)
2 c. fresh blackberries

Crumbs:
2/3 c Sugar
1/2 c All-purpose flour
1/2 tsp. Cinnamon
4-5 tbsp. butter, softened
1 c Chopped nuts (I used pecans, but walnuts and other nuts would work as well)

Photobucket

-Preheat oven to 375
-Make the crumbs by combining all the ingredients with a fork until soft but still crumb-like. It should look like this:

Photobucket

To make the cake:
1) In one large mixing bowl measure the flour, sugar, baking powder, baking soda and salt. Stir well to blend.

2) Into another cup, combine eggs, milk, butter and lemon juice (In that order - otherwise, the hot butter will cook the egg a bit).

3) Stir liquid ingredients into dry ingredients until blended. Batter will be very airy - like biscuits.

4) Turn into buttered 13-by-9-inch baking dish.

Photobucket

5) Sprinkle berries evenly over the batter.

Photobucket

6) Sprinkle with the Crumb Topping.

Photobucket

7) Bake for 30-40 minutes or until it passes the toothpick test.

8) EAT

Photobucket